
How to Add a Missing Person to a Group Photo
Choose a person reference, plan placement and match scale when adding someone to a family or group photo.
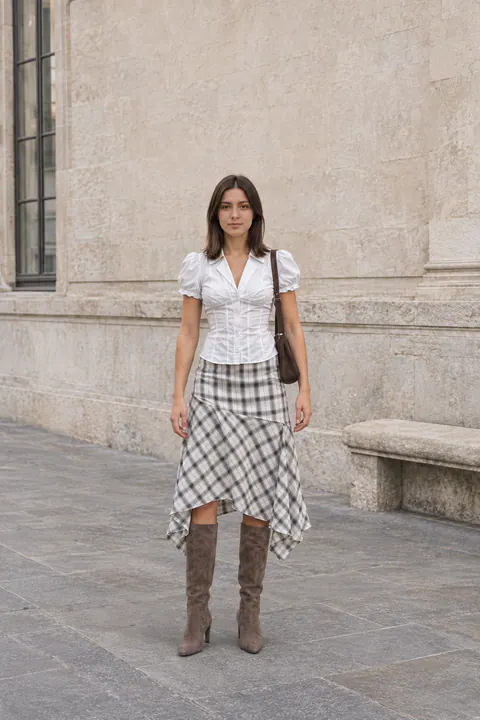
Adding a missing person to a group photo requires two starting images: the group picture and a clear photo of the person. Decide where they will stand before editing. A gap beside the group is usually easier to describe than a position hidden behind several people.
Choose a reference that fits the group
Compare camera height and body coverage. For a full-length group, choose a full-length person photo when you have one. Check which side of the face is brighter and whether the light is soft or casts sharp shadows.
You do not need to select the most glamorous portrait. Choose the photo that supplies the face and body details needed for this composition. A heavily filtered selfie from above gives a different perspective from a group photographed at eye level.
Plan the row and position
Use the ground and neighboring people as guides. Someone in the back row should sit farther into the scene; their head position depends on the ground level and their actual height. Do not simply make every head the same size.
Open Add Person to Photo, provide the scene and person reference, and describe a concrete placement:
Add the person from the reference beside the woman at the far left, in the same row. Keep the existing group and background. Match the added person’s scale to the people beside them, with their feet on the same ground plane.
Change the placement to match your image. If the person should be seated or partly behind someone, say that explicitly.
Inspect contact and overlap
Check the feet, shoulders and any point where the new person meets another person or object. Does an arm pass in front of the correct body? Is a chair leg still visible where it should be? Then compare skin tone, shadow direction and sharpness across the group.
When only the size is wrong, change the scale instruction. When the face is unclear, choose a clearer reference if you have one. Keep an untouched copy of the group image for comparison.
What if everyone is present, but in different frames?
Two near-identical group shots call for a different method. If one person blinked in one frame but looks good in another, alignment and a layer mask can combine the best parts while keeping selected original pixels. Adobe explains this approach in its group portrait tutorial.
Adding a person photographed elsewhere is a compositing task with more placement decisions. For general scene-building, read how to combine photos.
Including the photographer
Choose a reference from the same outing if available: the clothes and lighting may already suit the group. Leave room at an edge rather than covering someone’s face. If you can retake the shot, a timer and a stable camera position can put everyone in the same original frame.
Before sharing the result
Ask the person before using their photo, and describe an edited group picture as edited when the context could otherwise be misleading. Review faces at full size, then check the final crop at the size you will share or print.
For the next session, our posing guide includes shared actions for two people. To work with the images you already have, start with Add Person to Photo.