
Poses for Pictures: 8 Natural Ideas for Standing, Sitting and Walking
Not sure what to do in front of the camera? Try eight practical photo poses, with simple hand positions, body directions and ways to make each pose feel natural.
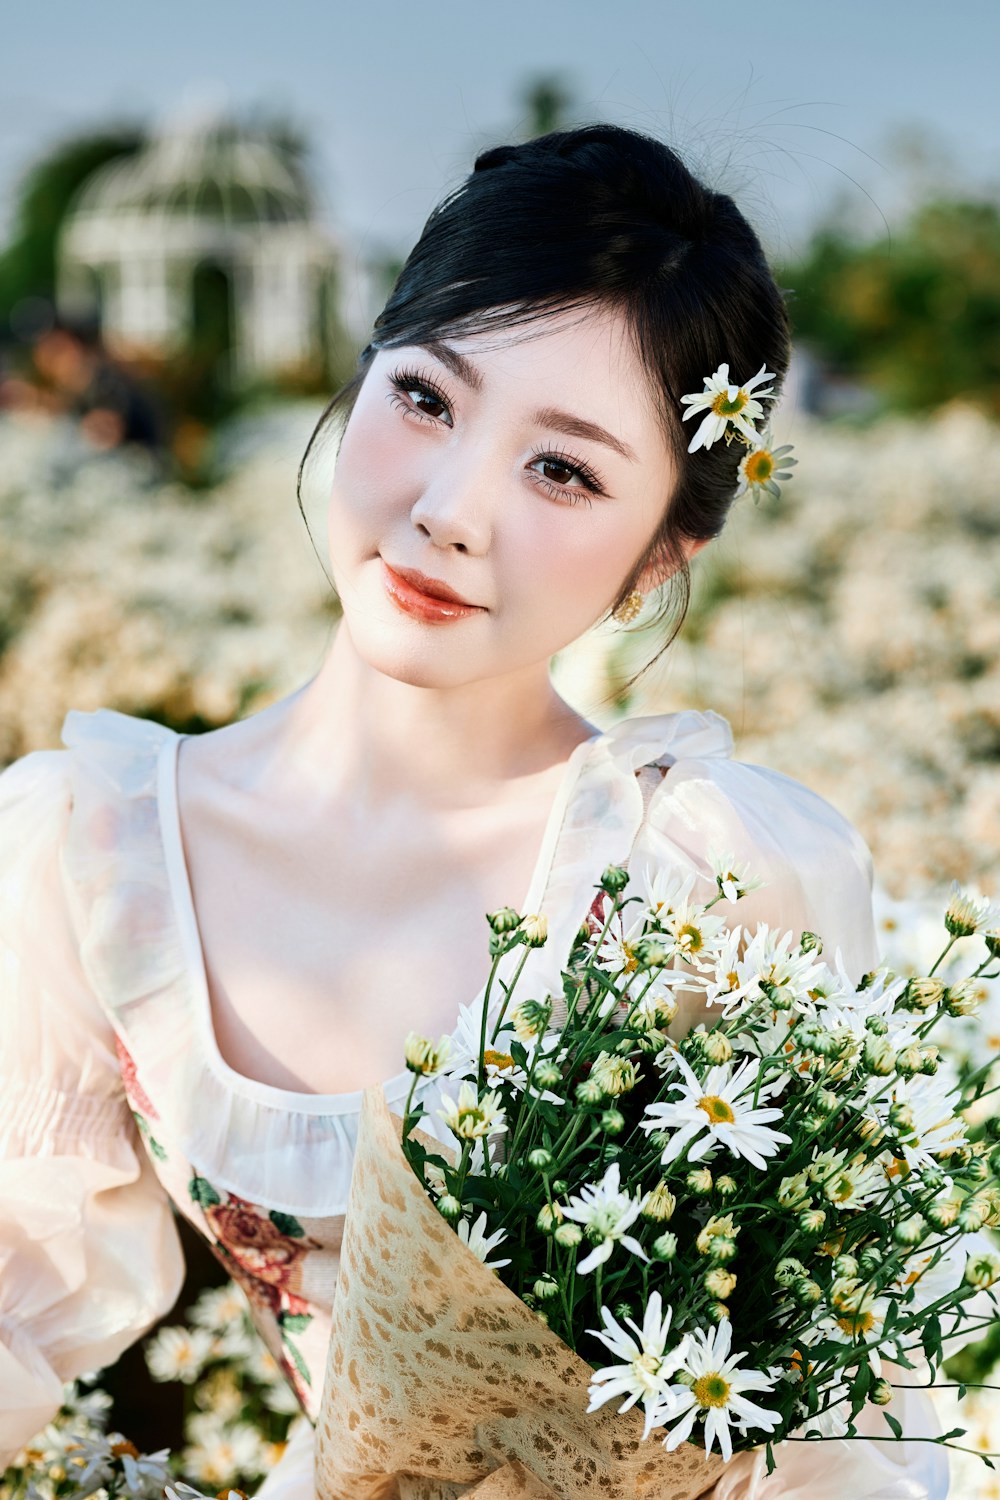
A good starting pose is a small action you can repeat comfortably: shift your weight, turn slightly, take a slow step or give your hands something to do. You do not need to copy someone else’s exact proportions or expression. Choose a direction that suits the space, your clothes and how you want the picture to feel.
Choose a pose for the kind of picture you want
| If you want… | Start with… | What your hands can do |
|---|---|---|
| A relaxed full-length portrait | A slight turn with weight on one leg | Rest by your sides or lightly hold a pocket edge |
| A candid travel photo | A slow walk across the scene | Swing naturally or carry a small bag |
| A quiet café or indoor portrait | Sit slightly sideways | Hold a cup or rest one hand on your lap |
| A beach or landscape picture | A look back toward the camera | Keep them loose and away from your face |
| A closer portrait | Turn toward the brighter light | Keep hands outside the frame, or lightly touch a collar |
1. The relaxed standing turn
Stand comfortably and turn your body a little away from the camera. Let most of your weight settle on one leg, keep the other knee soft, then bring your face back toward the lens. Drop your shoulders before taking the shot.
This is useful when a straight-on full-body photo feels stiff. A small turn is enough; avoid twisting your torso while leaving your feet locked in place. Keep a little space between your arms and your body if you want the silhouette to read clearly.
Try this standing direction in AI Pose Changer →2. The slow, candid walk
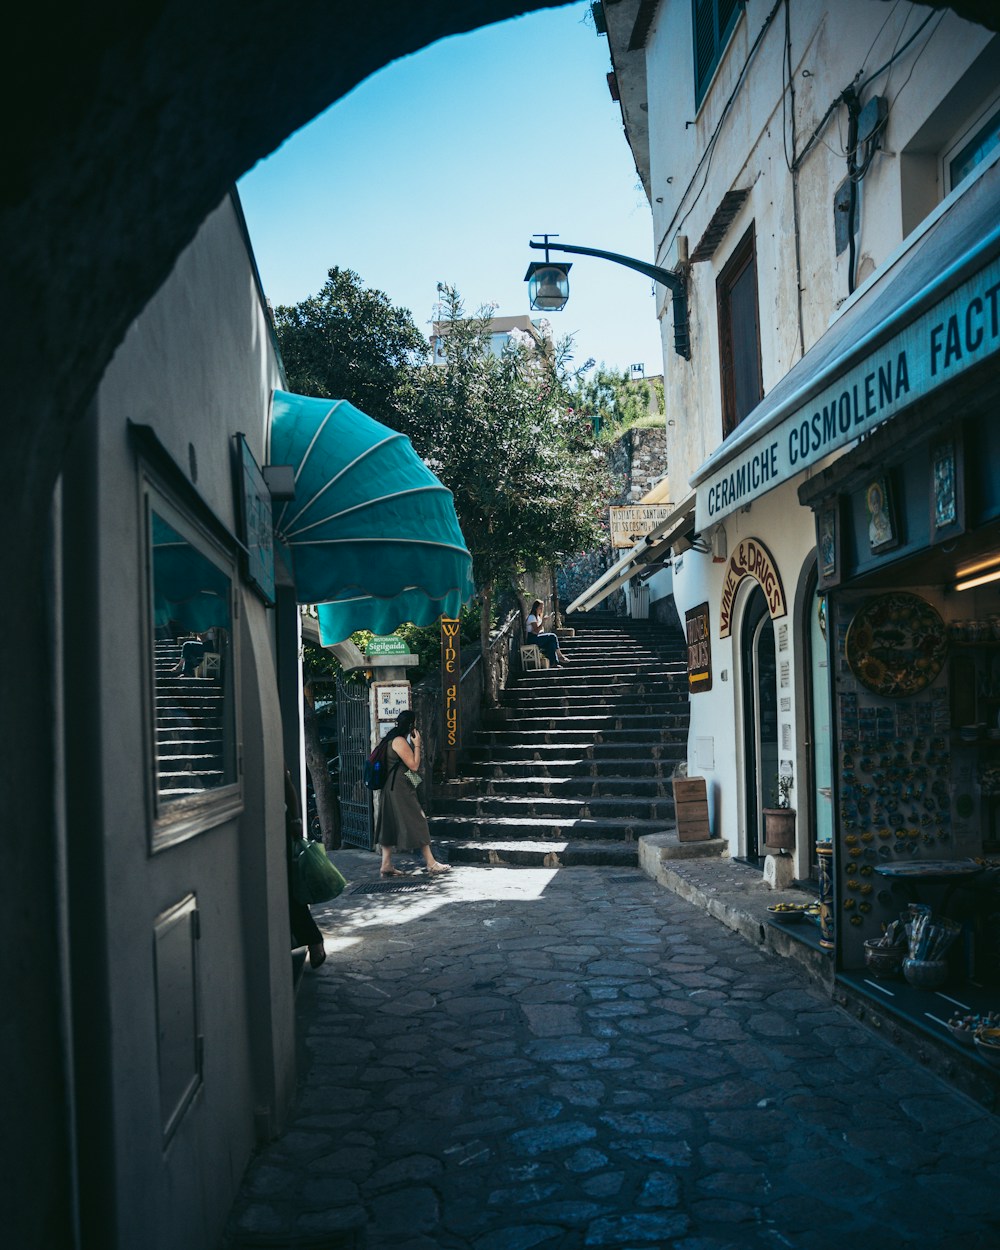
Pick a short path and walk it slowly while the photographer takes several frames. Look toward the end of the path, then briefly toward the camera. Take normal-sized steps rather than an exaggerated stride. Check the frame for awkward hand positions or feet cropped at the ankle.
For travel pictures, leave space ahead of your movement. Stairs and narrow paths can provide leading lines, but choose stable footing before thinking about the pose.
3. The easy seated pose
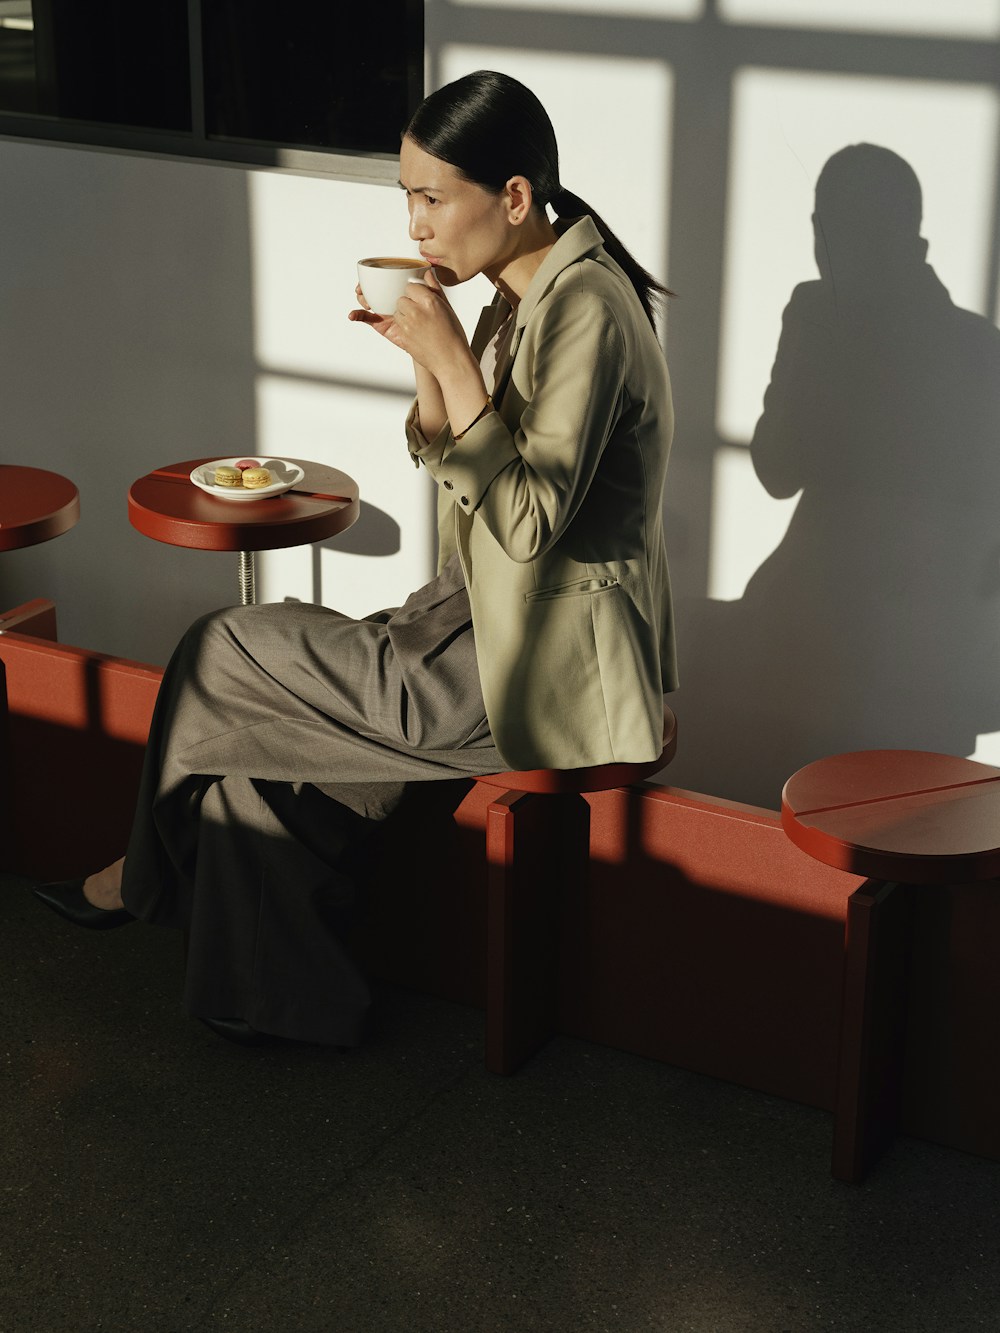
Sit slightly sideways on a chair or bench, with your feet supported. Lean forward a little from your hips if that feels natural, then rest your hands on your lap or on an object you would actually use. Keep your neck comfortable instead of pushing your chin forward.
A cup or a book can give the scene a purpose. If the object covers your face, lower it between frames. Take a few pictures during the action, not only after you have settled into a fixed pose.
4. The look back
Face partly away from the camera, then turn your head and shoulders back together. Keep the rotation small enough to feel comfortable. You can pause mid-walk or stand still; a quick look often feels more natural than holding the position for a long time.
This works well when the environment matters as much as the person. For a wider picture, check that the face remains visible and the horizon does not cut through the head. See our beach photo ideas for ways to use the shoreline and open space.
Use the beach look-back direction →5. The gentle lean
Stand near a wall or railing and rest lightly against it. Keep your feet in a stable position and use the surface as a point of contact rather than pressing your full weight into it. Let one shoulder sit a little closer to the camera.
Watch for a background line that appears to grow out of your head. A small step sideways can separate your outline from poles, corners and doorframes.
6. The hands-with-a-purpose pose
Adjust a sleeve, hold the edge of a jacket, carry a bag or brush hair away from your face. Pick one simple action and repeat it slowly. If you are holding an object, avoid squeezing it so tightly that your hands become the most tense part of the picture.
This is especially useful if “just relax” does not help. Give yourself a concrete task instead of trying to arrange every finger.
7. The portrait turned toward the light
For a closer picture, start with your face turned slightly toward the brighter part of the scene. Move a little at a time and compare both sides. Lower your shoulders, breathe out and let your expression settle. The person behind the camera can change height before asking you to tilt your head more.
Keep the crop intentional: either include the hands clearly or leave them outside the frame. Avoid a distracting partial hand beside the face.
8. A shared action for two people
Walk together, talk, point toward something in the scene or turn toward one another. Give both people room to move rather than asking them to freeze in matching positions. Check that one person is not unintentionally hiding the other.
If someone is absent from an existing picture, that becomes an editing task rather than a posing problem. Add Person to Photo takes a scene and a separate person reference; lighting, camera angle and image quality all affect how convincing the result can be.
A quick check before the next picture
- Feet: choose a stable, comfortable position.
- Shoulders: release tension before the shutter.
- Hands: give them one simple task, or let them rest.
- Eyes: pick a clear point to look at.
- Frame: check the edges around hands, feet and the top of the head.
- Sequence: make a small change between frames so you have real alternatives.
Can you change the pose in an existing photo?
Yes, an AI editor can attempt a new pose from your original photo and either a written direction or a reference image. A clear photo with the relevant parts of the body visible is a better starting point than a heavily cropped or blurry image.
Changing a pose may require the model to invent hidden clothing, limbs or background. The result can alter identity and other details. Keep the original, compare the face and hands carefully, and treat the output as an edit rather than an unaltered photograph.
The four linked directions above open AI Pose Changer with a starting instruction. You can adjust it, upload your photo and choose what to preserve before generating. Applying a direction alone does not start a generation.
Questions people have about posing
What is the easiest pose for someone who feels awkward?
Start with a small action: turn slightly, take a short walk or hold something you would normally use. An action gives you something to focus on and several moments to choose from.
Where should I put my hands?
Rest them loosely, lightly hold a pocket edge, carry an object or adjust a sleeve. Choose a position that fits the scene. You do not have to include your hands in a close portrait.
Should I look directly at the camera?
Try both. Looking at the lens makes the picture feel more direct; looking toward a clear point in the scene can create a quieter or more candid frame. Avoid looking somewhere only because you were told to “look away.”
Do these poses work for different bodies and mobility needs?
Use the underlying idea—an angle, a comfortable point of support, an action—rather than forcing the exact position. Standing poses can be adapted while seated. Comfort and an intentional composition matter more than reproducing a pose precisely.