
Travel Photo Editing: Choose the Right Fix Before You Start
A practical checklist for choosing between a pose edit, adding a person and combining image references.
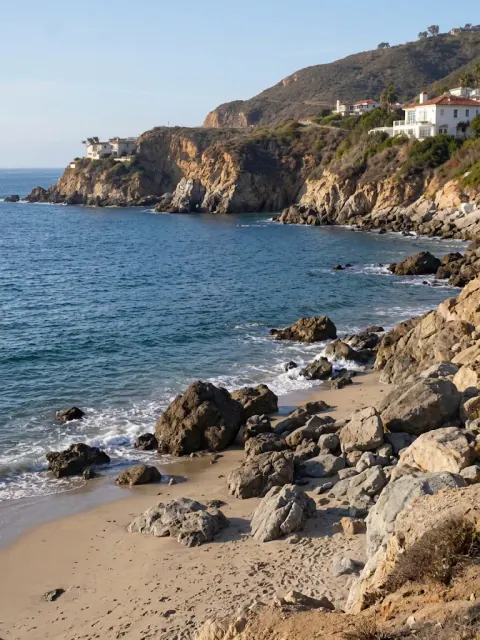
Start a travel photo edit by naming what you want to change. An awkward pose, a missing companion and a different background are three separate tasks. Pick the main one first and keep an original copy of the photo.
The place looks right, but the pose does not
Use AI Pose Changer when you want a different stance or hand position in an existing scene. Describe the movement and the details to retain. “Turn slightly toward the sea, with relaxed arms” gives you a visible change to assess.
Read how to choose a pose reference before uploading several images. If you are still at the location, our beach photo ideas and everyday posing guide can help with a retake.
A companion is missing
Use Add Person to Photo with the scene and a separate reference of that person. Choose where they belong, then compare camera angle, lighting and body coverage between the two files.
The group-photo guide covers rows, relative height and overlap. A shot from the same trip often gives you useful clothing and lighting context, so look through your originals before choosing a profile picture.
You want one scene from several images
Use AI Image Combiner when different references supply the subject, setting or another visual element. Write down each image’s role. If two photos supply different backgrounds, choose one as the destination instead of leaving that decision implicit.
Our compositing guide helps you plan the scene; the reference prompt guide shows how to describe it.
The image only needs a crop or exposure adjustment
Start with the crop and tone controls in your usual photo editor. Straightening a tilted horizon or trimming a distracting edge may solve the problem without changing the person or scene. Check the whole frame after cropping: hands and feet can end up uncomfortably close to the edge.
For a dark picture, compare the available exposure adjustment with the original before deciding it needs a broader edit. A lighting problem is not automatically a pose problem.
Save versions around the decision
Keep the original, the first useful edit and the version you plan to share. Give them names you can recognize, such as “coast-original” and “coast-seated-edit.” When testing a new direction, return to the source images rather than relying only on the previous generated version.
Check at two sizes
At full size, inspect faces, hands, clothing details and edges. At sharing size, judge the composition: can you still see the landmark, and does the person have enough room in the frame? A technically tidy detail is easy to miss in a cluttered overall picture.
If you are unsure which task fits, the travel photo editing entry helps you choose a starting workflow. Begin with the smallest change that solves the problem you noticed.